Photocopier Bypass Tray Printing: Envelopes, Labels & Thick Paper
July 31, 2025
Bypass Tray Functions Explained: The Secret to Printing Labels, Envelopes, and Thick Paper
In any busy office, we've all faced the same challenge. You need to print a single, crucial envelope, a batch of glossy labels, or a certificate on heavy cardstock. The thought of emptying the main paper tray, fumbling with the settings, and hoping for the best is enough to cause a headache. Fortunately, there's a feature on almost every office photocopier designed specifically for these tasks: the bypass tray.
Often overlooked, the bypass tray is one of the most versatile tools at our disposal. Mastering its use can save time, prevent frustrating paper jams, and elevate the quality of our printed materials. In this guide, we'll explain the function of the photocopier bypass tray and compare how to use it on four of the most popular office brands: Ricoh, Fujifilm, Sharp, and HP.
What is a Bypass Tray and Why is it Essential?
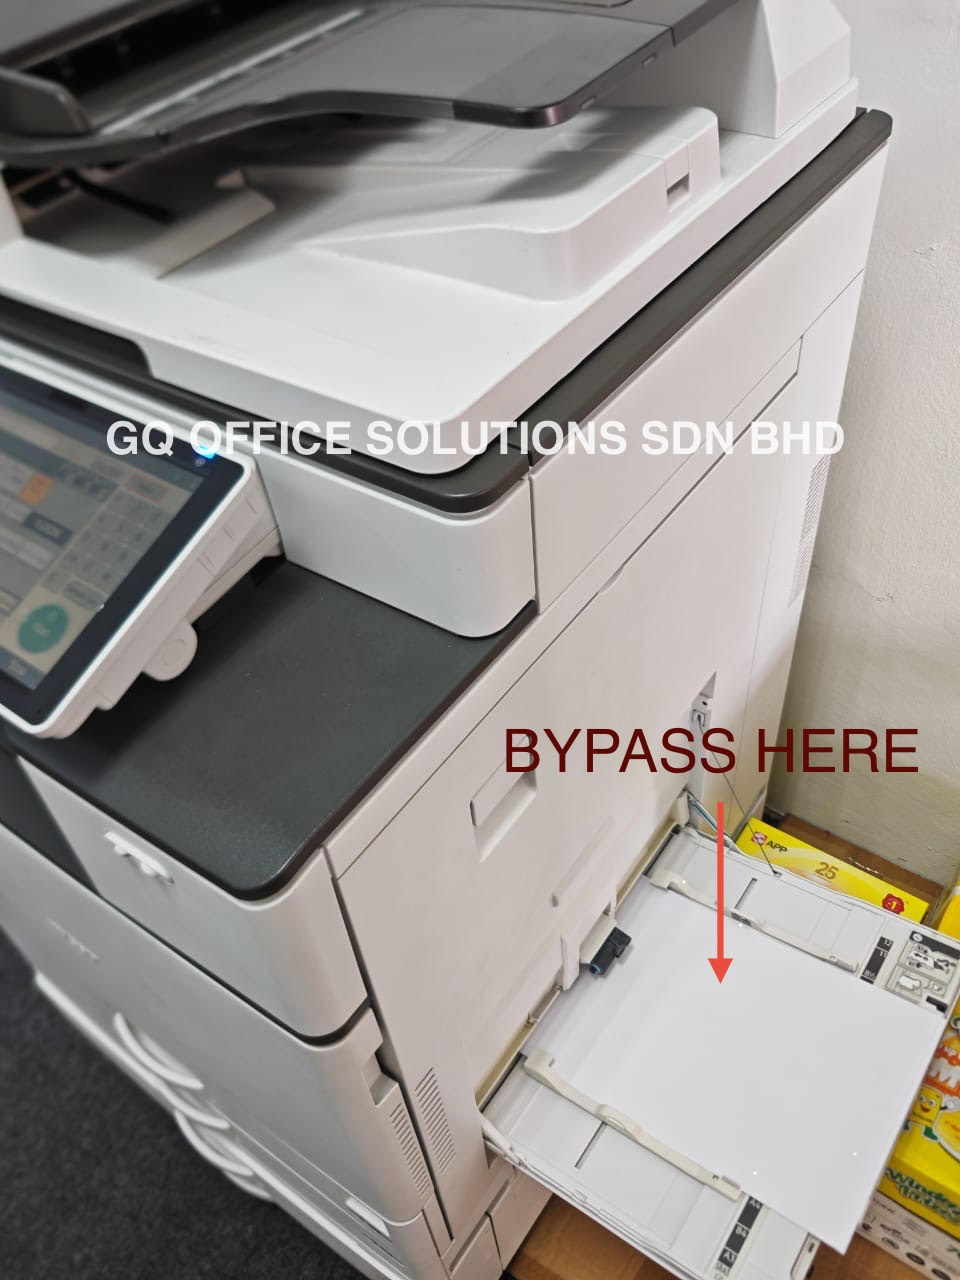
So, what exactly is the bypass tray? Think of it as the express lane for your printer. It's a manual-feed tray, usually located on the side of the machine, that allows you to introduce media directly into the copier's printing path.
The primary function of the photocopier bypass tray is to provide a shorter, straighter path for the paper to travel. Unlike the main paper cassettes, which require paper to be pulled up and around multiple rollers, the bypass tray feeds media almost directly through to the fuser and out of the machine. This straight path is critical for several reasons:
- Prevents Jamming: Thick paper, cardstock, and rigid media are less likely to get stuck or creased.
- Protects Special Media: It's ideal for envelopes with windows or labels on a sheet, as the gentler path reduces the risk of them peeling off inside the machine.
- Accommodates Odd Sizes: It easily handles non-standard paper sizes that won't fit in the main trays.
- Offers Convenience: It allows for quick, one-off print jobs on different paper without having to reconfigure an entire cassette.
How to Use the Bypass Tray: A Brand-by-Brand Guide
While the principle is the same across manufacturers, the exact steps and, most importantly, the way you load the paper can differ. Getting this wrong is the number one cause of printing errors.
A Crucial Note on Paper Orientation: The most critical detail is whether to load paper face-up or face-down. This refers to the side you want to be printed on.
Brand Ricoh Photocopier
Ricoh copiers are known for their reliability, and their bypass trays are straightforward.
- Locate and Open: The bypass tray is typically a folded-up panel on the right side of the machine. Pull it down gently and extend the paper support flap if necessary.
- Load the Paper (Face-Down): For Ricoh models, you almost always load the media with the print side facing down. If you're printing an envelope, the side with the address should be facing down, with the flap closed and pointing towards the machine.
- Adjust the Guides: Slide the blue or green paper guides until they are snug against the edges of your media. Don't make them too tight, as this can cause buckling.
- Confirm on Screen: The copier's touch screen will automatically prompt you to specify the paper settings. This is a vital step. Select the correct size (e.g., A4, Envelope COM10) and, more importantly, the type (e.g., Thick Paper, Labels, Envelope). This tells the fuser to adjust its temperature and speed to bond the toner correctly.
Brand Fujifilm (formerly Fuji Xerox) Photocopier
Fujifilm machines follow a very similar logic to Ricoh.
- Locate and Open: Find the bypass tray on the side of the device, pull it open, and extend the support.
- Load the Paper (Face-Down): Like Ricoh, Fujifilm requires you to place the media with the side to be printed on facing down.
- Adjust the Guides: Use the sliding guides to secure the paper stack in the center of the tray.
- Confirm on Screen: A menu will appear on the control panel. Confirm or change the paper size and type to match what you have loaded. If you skip this, you risk smudged prints or jams.
Brand Sharp Photocopier
Sharp photocopiers are user-friendly, and their bypass trays are no exception.
- Locate and Open: The bypass tray is on the side, often marked with an icon. Open it and pull out any extensions.
- Load the Paper (Face-Down): Consistent with its Japanese counterparts, Sharp copiers require the media to be loaded face-down. The print side should face the floor.
- Adjust the Guides: Carefully align the guides to the edges of your paper or envelopes.
- Confirm on Screen: The machine will ask you to verify the media. Use the touch screen to select the size and type from the menu. Choosing "Heavy Paper" or "Envelope" is essential for a quality result.
Brand HP Photocopier
HP often does things a little differently, and the bypass tray (often called Tray 1) is a key example.
- Locate and Open: On most HP LaserJet MFPs, the bypass tray, or Tray 1, is a fold-down door on the front or left side of the machine.
- Load the Paper (Face-Up): This is the most significant difference. For the majority of HP models, you load the media with the print side facing up. For envelopes, this means the address side is up, with the top edge feeding into the machine first.
- Adjust the Guides: Squeeze and slide the guides to fit the media width.
- Confirm on Screen: HP printers are very good at detecting the paper size automatically, but a prompt will still appear on the screen or your computer's print driver. Always verify that the paper type (e.g., Cardstock, Labels) is correctly selected.
Quick Comparison Table
| Brand | Typical Tray Location | Paper Loading Orientation | Key On-Screen Step |
|---|---|---|---|
| Ricoh | Right Side | Face-Down | Manually set Size & Type on the control panel. |
| Fujifilm | Right Side | Face-Down | Manually confirm Size & Type when prompted. |
| Sharp | Right Side | Face-Down | Select paper Size & Type from the on-screen menu. |
| HP | Front or Left Side | Face-Up | Verify the auto-detected Size & select Type. |
Watch the video below for a step-by-step guide on using your copier’s bypass tray effectively and efficiently.
Frequently Asked Questions (FAQs)
Q1: My labels peeled off inside the machine and caused a huge jam. What went wrong? This is a classic symptom of not selecting the correct paper type. When you load labels but leave the setting as "Plain Paper," the fuser unit gets too hot, melting the adhesive and causing the labels to peel off the backing sheet. Always select "Labels" on the control panel to ensure the machine uses a lower temperature.(To ensure reliable performance, use only high-grade label or sticker paper that's heat-resistant and designed for bypass tray use).
Q2: Can I load a full ream of paper into the bypass tray? No. The bypass tray is designed for small, special jobs and has a much lower capacity than the main cassettes, typically holding between 50 to 100 sheets, depending on the model and paper thickness. Overloading it will lead to feeding issues.
Q3: The copier isn't detecting the paper in the bypass tray. What should I do? First, ensure the paper is pushed in far enough to engage the sensor. Second, check that the paper guides are snug against the paper—if they are too wide, the machine may not register the size correctly. Finally, make sure you have acknowledged the prompt on the control panel screen.
By understanding and utilizing the bypass tray correctly, we can unlock the full potential of our office equipment, turning daunting print tasks into simple, routine jobs.